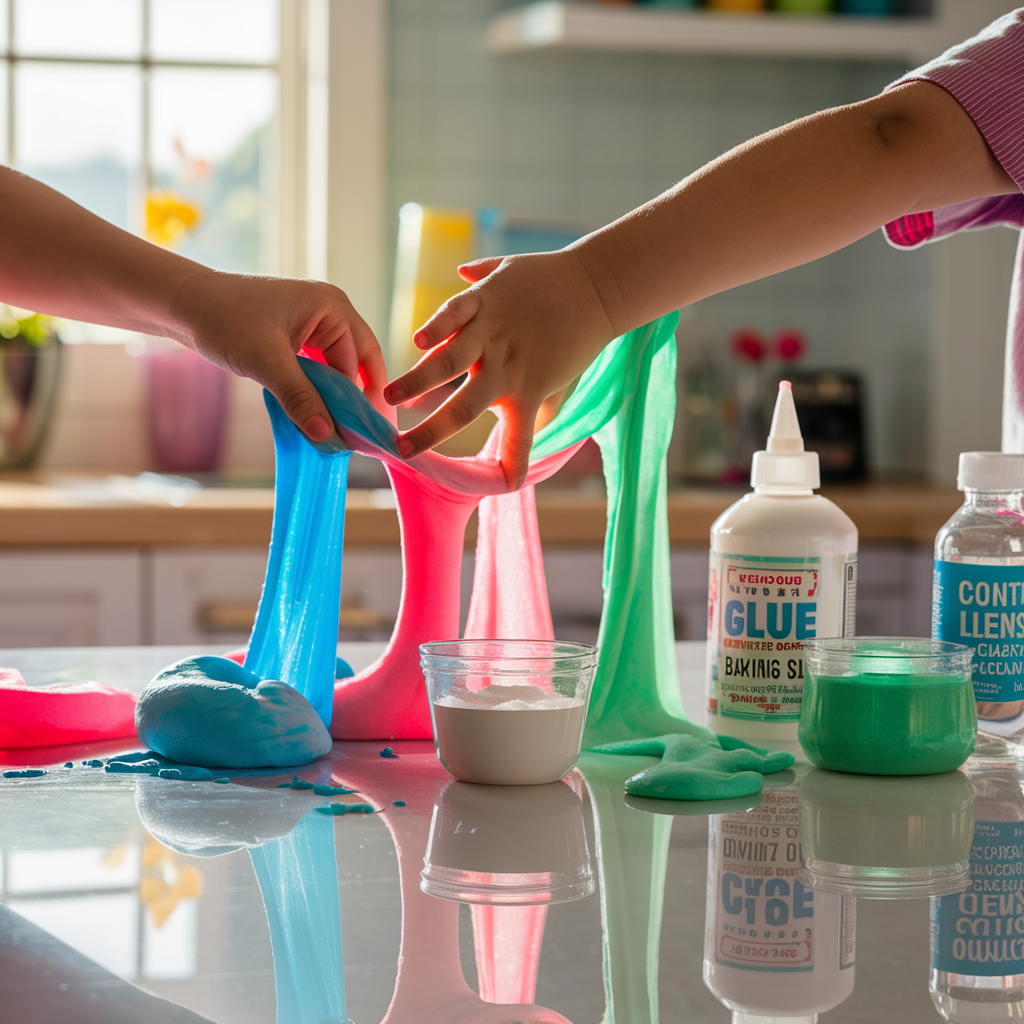
Creating slime at home is a fun, easy, and engaging activity that kids and adults alike enjoy. With just a few household ingredients, you can make slime that stretches, squishes, and even bounces. But did you know that you can make slime with only three simple ingredients? Yes, it’s that easy! In this guide, we’ll show you how to make slime with just three ingredients, perfect for a quick and mess-free activity.
Whether you’re looking for a fun afternoon project with the kids or need a creative sensory activity, this simple recipe will help you create the perfect slime. And if you’re in the mood for more creative projects, why not try baking some Earl Grey cookies after your slime-making session? It’s a delicious way to complement the fun.
Why Make 3 Ingredient Slime?
The beauty of 3 ingredient slime is its simplicity. It’s a quick and hassle-free recipe that requires minimal effort but delivers maximum fun. It’s also a great way to engage children in sensory play, promoting creativity and fine motor skills. The slime stretches, molds, and gives kids a hands-on experience with texture.
Making slime at home also allows you to control the ingredients, ensuring that your child is playing with safe, non-toxic materials. With fewer ingredients, you can be confident that the slime is easy to make and safe for kids to enjoy. Afterward, why not treat yourself and the family to a snack by making this delightful pumpkin banana loaf? A perfect companion to a fun-filled day!
Ingredients You’ll Need
Here are the three basic ingredients you’ll need to make slime at home:
- White or Clear Glue: Elmer’s school glue is a popular choice for making slime. You can choose clear glue if you want a transparent slime effect or white glue for a more solid color.
- Baking Soda: This acts as a thickening agent and helps give your slime the perfect stretch and consistency.
- Contact Lens Solution: Make sure it contains boric acid or sodium borate, as these work as the activator that turns the glue into slime.
These three ingredients are easy to find and affordable, making 3 ingredient slime a perfect activity for any time of the day.
How to Make 3 Ingredient Slime: Step-by-Step Instructions
Follow these simple steps to create your slime at home:
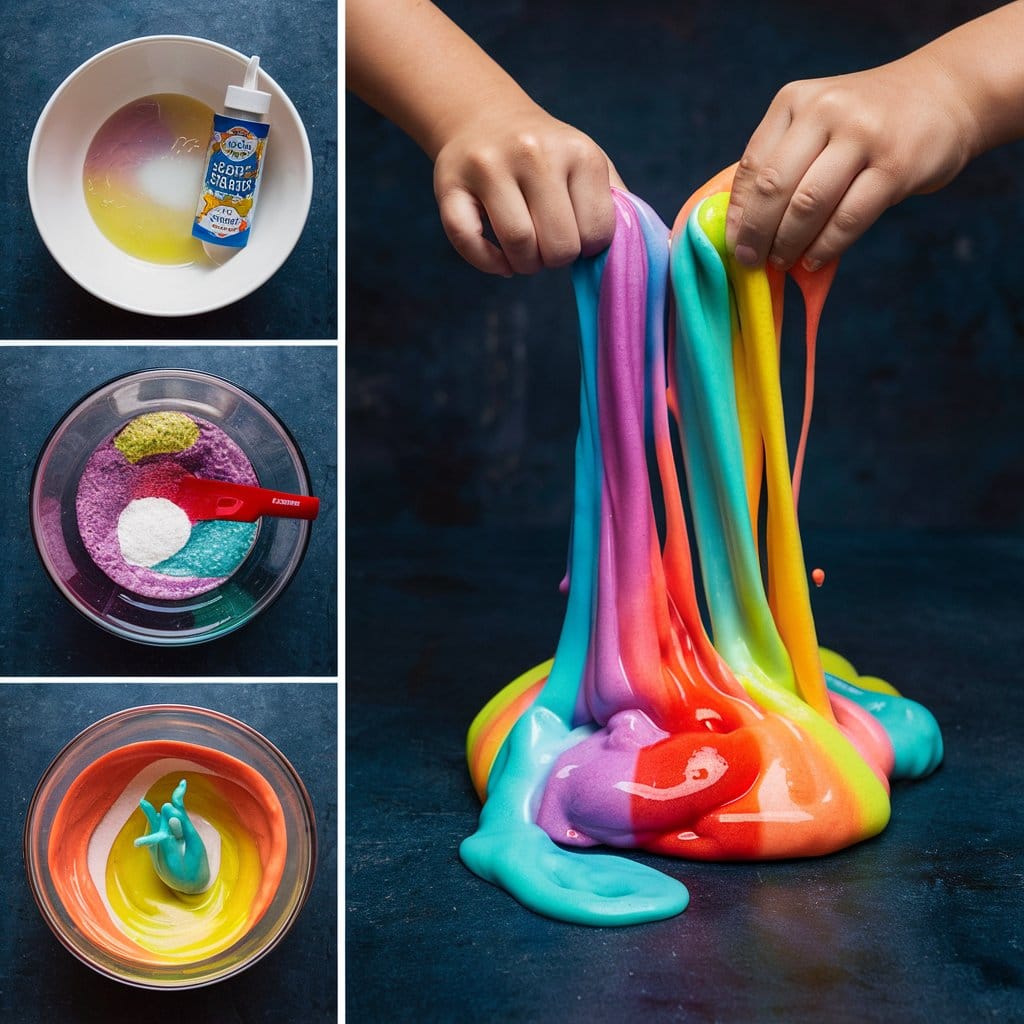
1. Mix the Glue and Baking Soda
Start by pouring 4 oz. of glue into a bowl. Then, add ½ tablespoon of baking soda. Stir the mixture until the baking soda is completely dissolved. You should notice the mixture starting to thicken slightly.
2. Add Color or Glitter (Optional)
If you want to add a fun element to your slime, now is the time to add some food coloring or glitter. Stir until the color or glitter is evenly distributed. This step is optional, but it’s a great way to customize your slime and make it even more fun for kids.
3. Add the Contact Lens Solution
Slowly add 1 tablespoon of contact lens solution to the glue and baking soda mixture. Stir continuously as you add the solution. You’ll notice that the slime will start to form and pull away from the sides of the bowl.
4. Knead the Slime
Once the mixture starts to thicken and pull together, use your hands to knead the slime. Kneading is essential because it helps the slime achieve its smooth, stretchy texture. If the slime is too sticky, you can add a few more drops of contact lens solution and continue kneading.
5. Store and Enjoy!
After your slime is ready, you can store it in an airtight container to keep it fresh. Slime usually lasts about 1-2 weeks before it starts to dry out. And there you have it—a simple, fun, and safe 3 ingredient slime recipe!
Fun Variations of 3 Ingredient Slime
Once you’ve mastered the basic recipe, you can try adding different elements to make your slime even more exciting. Here are a few ideas:
1. Glitter Slime
Add some sparkle to your slime by mixing in glitter. You can use any color glitter to match your favorite themes or holidays. Simply add the glitter during the mixing phase and knead it into the slime.
2. Fluffy Slime
For a lighter, airier slime, try adding shaving cream to the basic recipe. This will give your slime a fluffy texture, making it fun to squish and stretch. Add about 1-2 cups of shaving cream to the glue and baking soda mixture before adding the contact lens solution.
3. Glow-in-the-Dark Slime
Want to make your slime extra cool? Try adding glow-in-the-dark paint or using glow-in-the-dark glue. This is perfect for nighttime play or parties. Just add the glow-in-the-dark paint to the glue before mixing in the baking soda and contact lens solution.
Tips for Perfect Slime Every Time
Making slime is fun, but it can sometimes be tricky. Here are some helpful tips to ensure that your slime turns out perfect every time:
- Sticky Slime: If your slime is too sticky, add more contact lens solution, a few drops at a time, while kneading.
- Hard or Rubbery Slime: If the slime is too hard or rubbery, you’ve likely added too much activator. Try adding a bit more glue to soften it up.
- Watery Slime: If your slime is too watery, you may need to add a little more baking soda. Stir it in slowly until you reach the right consistency.
Internal Linking Opportunities
For a fun day filled with creativity and snacks, why not pair your slime-making session with a fun baking project? After you’ve made your 3 ingredient slime, you could bake something delicious like these Earl Grey cookies or enjoy a warm pumpkin banana loaf. These treats complement the fun, making for an enjoyable, creative day at home.
Benefits of Making 3 Ingredient Slime
Slime-making offers several benefits beyond just fun and play. It can be educational, therapeutic, and a great way to spend time together as a family. Here are some key benefits:
1. Sensory Play
Slime provides a unique sensory experience for children. It’s stretchy, squishy, and malleable, helping kids explore different textures and develop their fine motor skills.
2. Science in Action
Making slime introduces children to basic science concepts like chemical reactions. When glue and contact lens solution mix, a reaction occurs that changes the glue into a polymer, which gives slime its stretchy, gooey texture. This hands-on learning experience is a great introduction to chemistry.
3. Stress Relief
Playing with slime isn’t just for kids—it’s also a great stress-relief tool for adults! The squishy, stretchy texture can help relax and focus the mind, making it a great tool for de-stressing.
FAQs About 3 Ingredient Slime
1. How Long Does Homemade Slime Last?
Homemade slime can last up to two weeks if stored in an airtight container. If it starts to dry out, you can refresh it with a few drops of water or more contact lens solution.
2. Can I Make Slime Without Glue?
Yes, there are no-glue slime recipes that use ingredients like cornstarch or flour to create a similar texture. While the consistency may differ, they’re a great alternative for those who want to avoid glue.
3. Is 3 Ingredient Slime Safe for Toddlers?
Homemade slime made with non-toxic ingredients like school glue and contact lens solution is generally safe for children, but it’s important to supervise toddlers closely to ensure they don’t ingest any slime.
4. How Can I Customize My Slime?
Slime is highly customizable! You can add food coloring, glitter, small toys, or even essential oils for a scented slime experience. Get creative and experiment with different textures and effects.
Conclusion
3 ingredient slime is a fun, simple, and affordable activity that provides hours of entertainment. With just three common household items—glue, baking soda, and contact lens solution—you can create a stretchy, squishy slime that kids will love. The best part is that it’s safe and easy to make, with endless possibilities for customization.
After a fun day of making slime, don’t forget to reward yourself with a tasty treat like Earl Grey cookies or a pumpkin banana loaf. These recipes make the perfect end to a creative, hands-on day at home.


