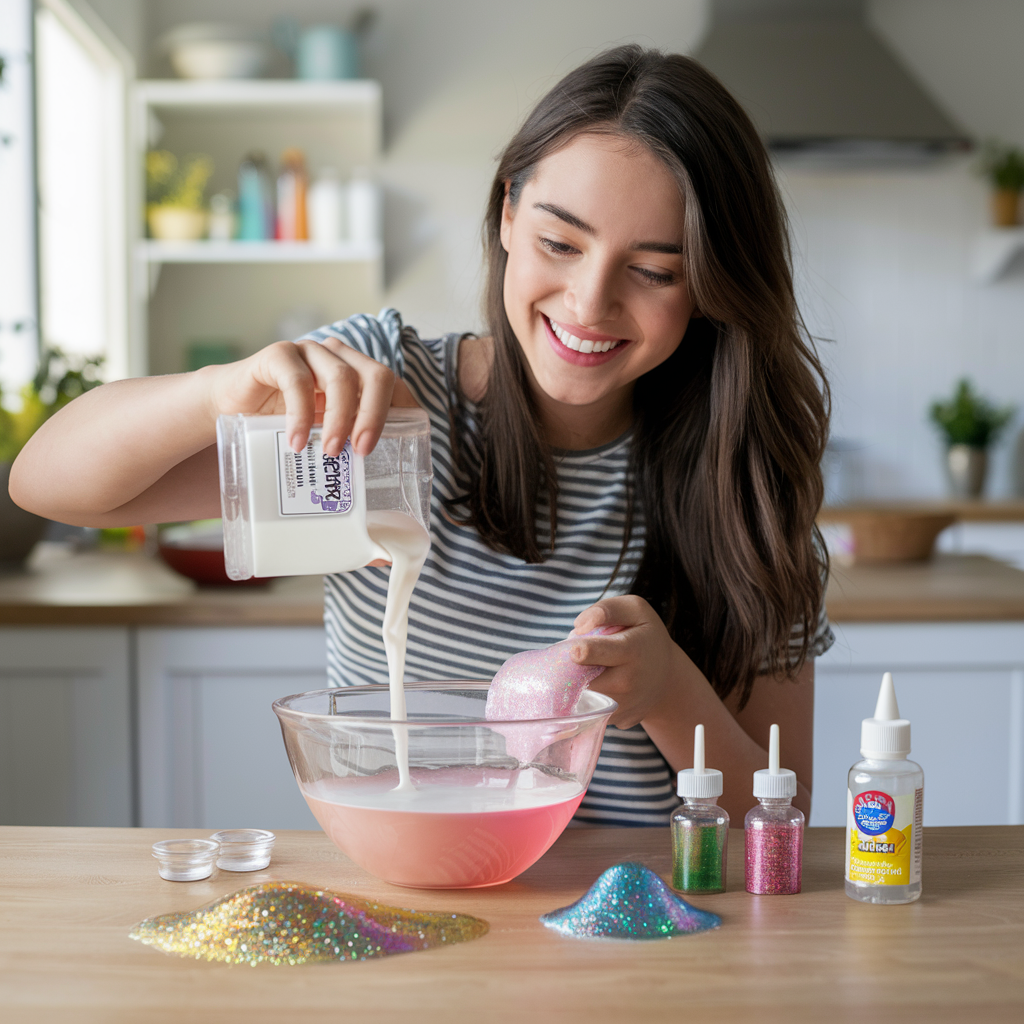
Homemade slime has become a popular activity for kids and adults alike. It’s a fun, creative project that offers endless entertainment while also teaching basic science concepts. Whether you’re a parent looking for a safe DIY activity or just someone eager to create something unique, making slime at home is simple and affordable. With just a few household ingredients, you can create stretchy, colorful slime in no time.
In this article, we’ll explore how to make homemade slime with easy-to-follow steps and various slime recipes. We’ll also discuss tips, tricks, and variations to customize your slime-making experience. If you’re looking for more creative ideas after your slime-making session, consider trying something fun like baking a delicious pumpkin bana na loaf as an enjoyable treat.
Why Make Homemade Slime?
Making slime at home allows you to control the ingredients, ensuring a safe and non-toxic play material. Unlike store-bought slime, which may contain chemicals like borax, homemade slime can be crafted with kid-friendly ingredients. Plus, it’s a hands-on activity that encourages creativity, sensory play, and learning about chemical reactions. Kids love the tactile experience of squishing and stretching the slime, while adults can enjoy the therapeutic and stress-relieving benefits of kneading the slime.
If you’re planning a fun afternoon with your kids, why not pair your slime-making activity with some homemade cookies like these Earl Grey cookies? Both projects are easy to prepare and provide endless enjoyment for the entire family.
Basic Ingredients for Homemade Slime
Before you start creating your slime masterpiece, you’ll need a few basic ingredients. These can be found in most households or easily purchased at your local grocery store:
- White Glue: Elmer’s school glue is the most popular choice for making slime. You can use clear glue as well if you want transparent slime.
- Baking Soda: This ingredient thickens the slime and helps create that stretchy texture.
- Contact Lens Solution: Make sure the solution contains boric acid or sodium borate, as these act as the slime activator.
- Optional Add-ins: Food coloring, glitter, foam beads, or even small toys can be added to customize your slime.
By keeping these key ingredients in your pantry, you’ll always be ready to whip up a batch of slime for spontaneous play.
How to Make Basic Homemade Slime
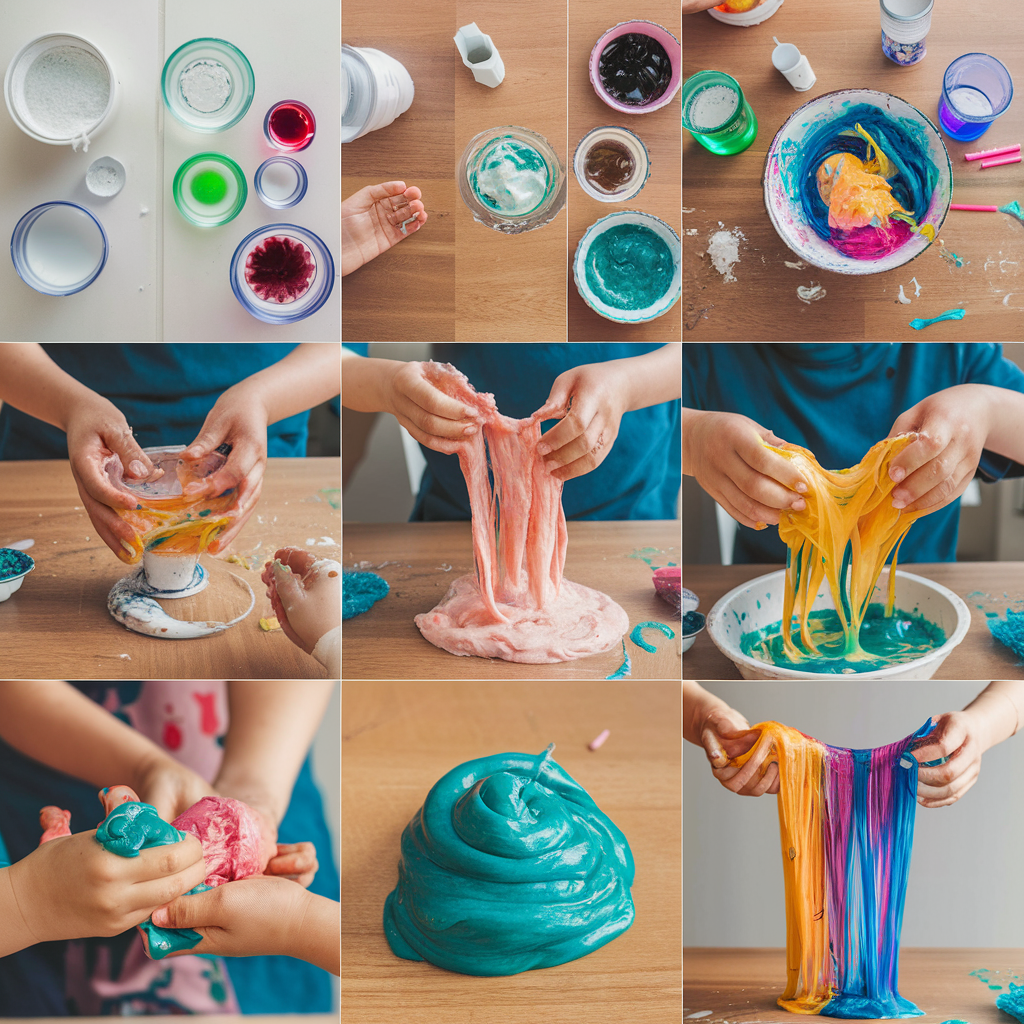
The basic slime recipe is easy to follow and requires minimal effort. Here’s a step-by-step guide to get you started:
Step-by-Step Instructions:
- Prepare Your Ingredients: Gather 4 oz. of white glue, ½ tablespoon of baking soda, and 1 tablespoon of contact lens solution. If you want colorful slime, grab your food coloring as well.
- Mix Glue and Baking Soda: In a medium-sized bowl, combine the glue and baking soda. Stir until well-blended.
- Add Food Coloring (Optional): Add a few drops of your chosen food coloring and stir until the color is evenly distributed throughout the mixture.
- Activate the Slime: Slowly add the contact lens solution while stirring. You’ll notice the slime begin to form as the mixture thickens.
- Knead the Slime: Once the slime starts pulling away from the bowl’s edges, use your hands to knead it. Continue kneading until it becomes smooth, stretchy, and no longer sticky.
Now, you’ve made your very own basic slime! Feel free to store it in an airtight container to keep it fresh for up to two weeks.
Popular Homemade Slime Variations
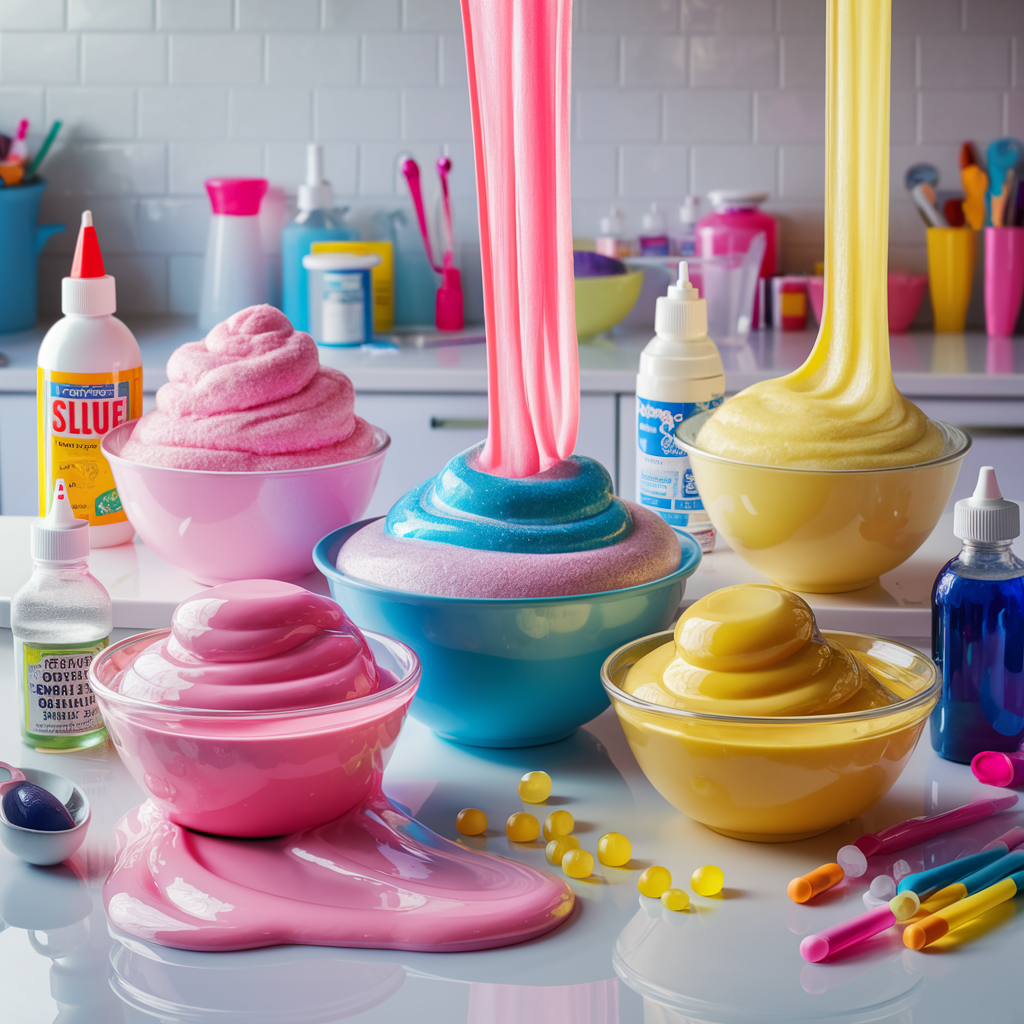
Once you’ve mastered the basics, you can explore different slime variations. From fluffy to glittery, there are endless ways to experiment with slime textures and designs. Here are some of the most popular types of homemade slime.
1. Fluffy Slime
Fluffy slime is a crowd favorite thanks to its light, airy texture. It’s perfect for kids who enjoy tactile play. The secret ingredient? Shaving cream!
Ingredients:
- 4 oz. of white glue
- 2-3 cups of shaving cream
- ½ tablespoon of baking soda
- 1 tablespoon of contact lens solution
- Food coloring (optional)
Instructions:
- Mix the glue and baking soda in a bowl.
- Add shaving cream and stir until the mixture becomes fluffy.
- Gradually add the contact lens solution while stirring.
- Once the slime forms, knead it until it’s smooth and fluffy. If it feels sticky, add more contact lens solution as needed.
Fluffy slime is fun to stretch and mold, and its soft, squishy texture is incredibly satisfying to play with.
2. Glitter Slime
If you’re looking for a slime that sparkles, glitter slime is the way to go. It’s shiny, colorful, and perfect for themed parties or playdates.
Ingredients:
- 4 oz. of clear glue
- ½ tablespoon of baking soda
- 1 tablespoon of contact lens solution
- Glitter (choose your favorite color)
- Food coloring (optional)
Instructions:
- In a bowl, combine the glue and baking soda.
- Add glitter and stir until it’s evenly distributed. You can also add food coloring for extra pizzazz.
- Slowly add contact lens solution while stirring until the slime starts to pull together.
- Knead the slime until it’s stretchy and sparkly.
Glitter slime is not only fun to play with but also visually captivating, making it a hit with both kids and adults.
3. Butter Slime
Butter slime is known for its soft, smooth, and spreadable texture. This type of slime is easier to handle and less sticky than traditional slime, making it ideal for younger kids.
Ingredients:
- 4 oz. of white glue
- ½ tablespoon of baking soda
- 1 tablespoon of contact lens solution
- Air-dry clay (non-toxic)
Instructions:
- Mix the glue and baking soda in a bowl.
- Gradually add the contact lens solution while stirring.
- Once the slime forms, knead it with your hands.
- Knead in air-dry clay until you reach the desired texture.
Butter slime is perfect for those who enjoy a softer, more malleable texture.
Tips and Tricks for Perfect Homemade Slime
Making slime is fun, but sometimes it can turn out too sticky or stiff. Here are some troubleshooting tips to help you achieve the perfect slime consistency:
- Sticky Slime: If your slime is too sticky, add more contact lens solution a few drops at a time and continue kneading until it firms up.
- Hard or Stiff Slime: If your slime is too stiff, it might be over-activated. Add a little more glue to soften it.
- Watery Slime: If your slime is too runny, add more baking soda to thicken it.
These quick fixes will ensure that your slime turns out smooth, stretchy, and fun to play with every time.
Internal Linking Opportunities
If you’re planning a fun day of making slime, consider pairing the activity with baking some treats like Earl Grey cookies for a delightful snack break. Or, if you’re looking for more baking inspiration, try this pumpkin banana loaf for a perfect afternoon indulgence. These recipes are easy to make and complement a creative, hands-on day filled with fun.
Frequently Asked Questions (FAQs)
1. How Long Does Homemade Slime Last?
When stored in an airtight container, homemade slime can last up to two weeks. If it begins to dry out, add a few drops of water or contact lens solution to refresh it.
2. Can I Make Slime Without Glue?
Yes, there are no-glue slime recipes that use ingredients like cornstarch or flour as an alternative base. These recipes result in a different texture, but they’re great for those looking for a glue-free option.
3. Is Homemade Slime Safe for Toddlers?
Homemade slime made with non-toxic ingredients like school glue and contact lens solution is generally safe for children. However, it’s always important to supervise young kids during play to ensure they don’t ingest the slime.
4. Can I Customize My Slime?
Absolutely! You can add glitter, food coloring, small toys, or even essential oils to give your slime a unique scent. Customizing slime allows you to create endless variations and textures.
Conclusion
Homemade slime is an enjoyable and educational activity that anyone can enjoy. With a few basic ingredients, you can create a wide range of slime variations, from fluffy to glittery, and even buttery textures. It’s an excellent hands-on activity for kids, and the fun doesn’t stop once the slime is made—there are countless ways to customize it with colors, glitter, and more.
After a fun slime-making session, why not bake some delicious Earl Grey cookies or a pumpkin banana loaf? These tasty treats pair perfectly with a creative afternoon at home.
Happy slime-making!
