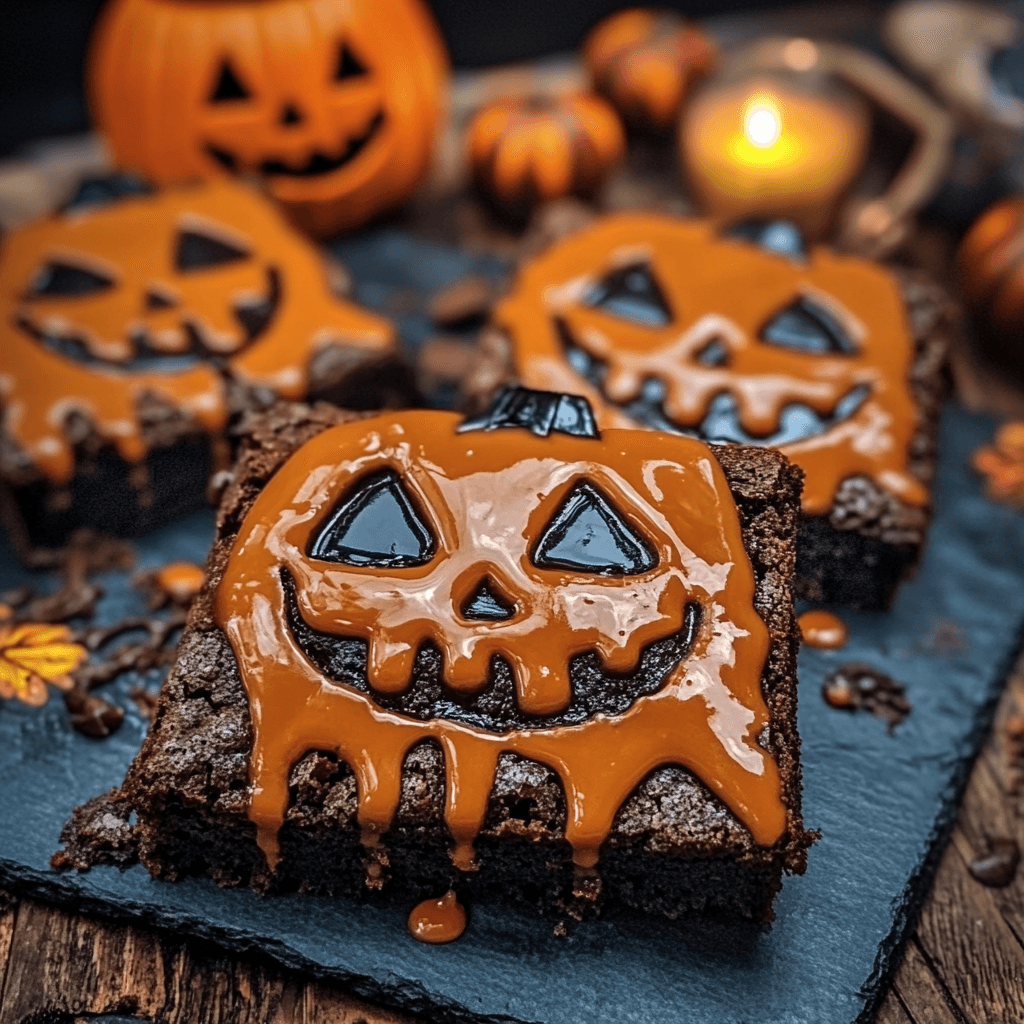
Halloween is the perfect excuse to whip up spooky, creative, and delicious treats! These Melted Jack-O-Lantern Brownies are a fun and festive way to celebrate. They feature fudgy brownies topped with melted marshmallow pumpkins, decorated like jack-o-lanterns with chocolate faces and pretzel stems.
Perfect for Halloween parties, trick-or-treat night, or a cozy autumn dessert, these brownies are easy to make and a guaranteed crowd-pleaser. Follow our step-by-step guide, and let’s get baking!
Ingredients for Melted Jack-O-Lantern Brownies
For the Brownies:
- 1 cup (2 sticks) unsalted butter, melted
- 1 cup granulated sugar
- 1 cup brown sugar
- 4 large eggs
- 1 teaspoon vanilla extract
- 1 cup all-purpose flour
- ½ cup unsweetened cocoa powder
- ½ teaspoon salt
- ½ teaspoon baking powder
For the Jack-O-Lantern Decoration:
- 12 large marshmallows
- 1 cup orange candy melts
- ½ cup semi-sweet chocolate chips
- 12 pretzel sticks
- Green icing or sprinkles
Pro Tip: Use high-quality cocoa powder like Ghirardelli for richer brownies.
Step-by-Step Instructions to Make Halloween Brownies
1. Baking the Brownie Base
- Preheat the oven to 350°F (175°C). Line a 9×13-inch baking pan with parchment paper.
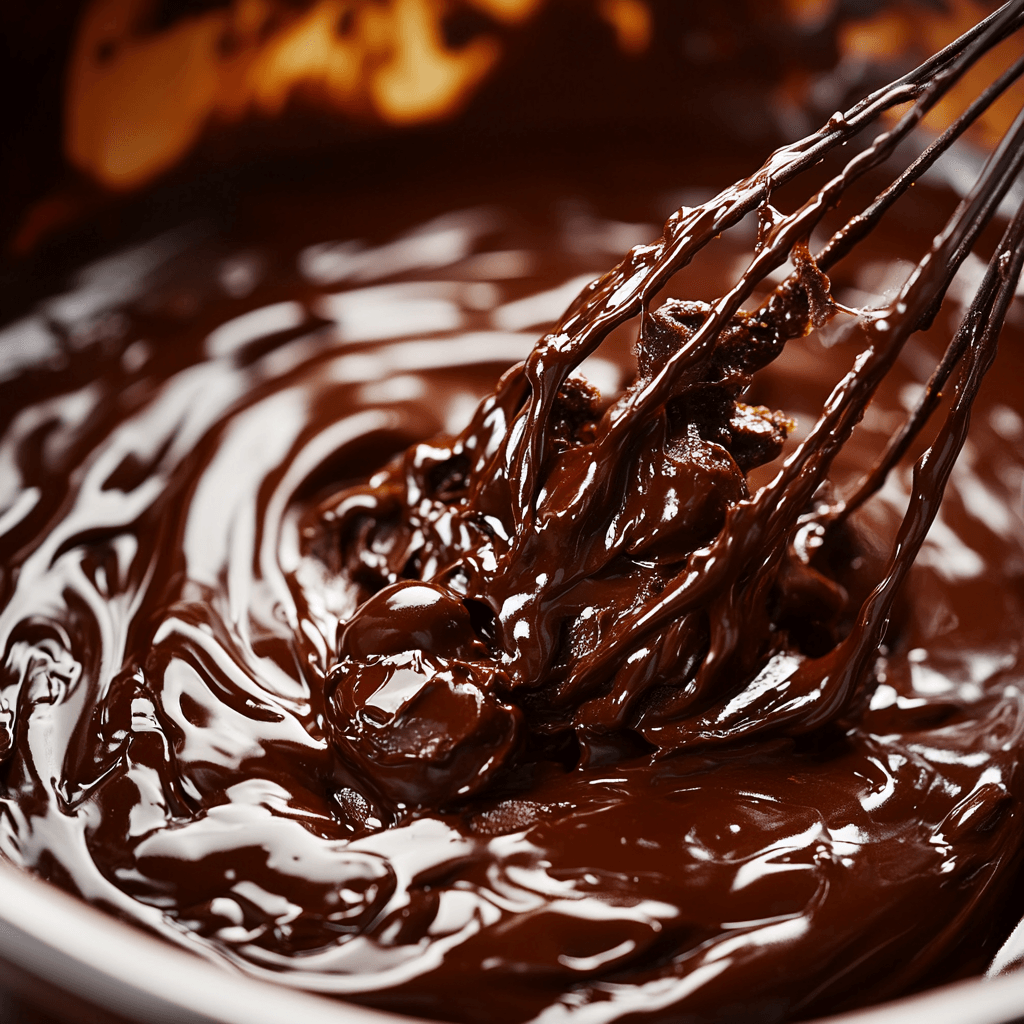
- Whisk together melted butter, granulated sugar, and brown sugar until smooth.
- Add the eggs and vanilla extract, mixing well.
- In another bowl, sift together flour, cocoa powder, salt, and baking powder.
- Gradually add the dry ingredients into the wet mixture.
- Pour the batter into the prepared pan and spread evenly.
- Bake for 25-30 minutes until a toothpick inserted in the center comes out with a few moist crumbs.
- Let the brownies cool completely before decorating.
2. Creating the Melted Jack-O-Lanterns
- Melt the orange candy melts according to package instructions.
- Place a large marshmallow on each brownie square.
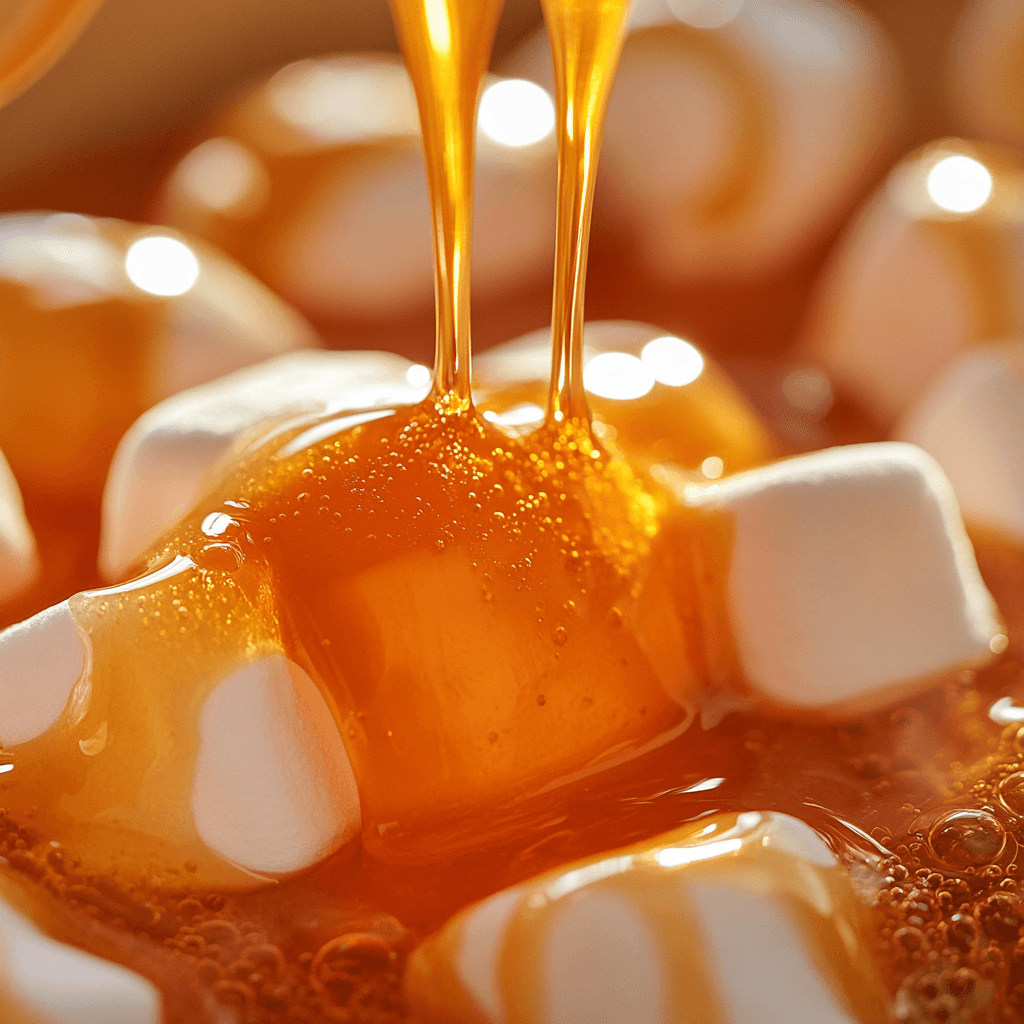
- Pour the melted orange candy over the marshmallow, letting it drip down the sides.
3. Decorating the Jack-O-Lantern Faces
- Melt the chocolate chips in a microwave-safe bowl.
- Use a piping bag or toothpick to draw jack-o-lantern faces on the melted marshmallow pumpkins.
- Insert a pretzel stick into the top as a pumpkin stem.
- Add green icing or sprinkles for pumpkin vines.
Tips for the Best Melted Jack-O-Lantern Brownies
- For fudgier brownies, slightly underbake them and let them cool before cutting.
- Use a piping bag for precise jack-o-lantern faces.
- No candy melts? Use white chocolate and orange food coloring instead.
- Let the decorations set before serving for a polished look.
Looking for more Halloween treat ideas? Check out these spooky dessert recipes for inspiration!
Variations & Creative Twists
- Ghost Brownies: Swap orange candy melts for white and make ghost faces.
- Pumpkin Spice Brownies: Add 1 tsp pumpkin spice for a seasonal twist.
- Vegan Option: Use a vegan brownie mix and dairy-free chocolate.
How to Store Melted Jack-O-Lantern Brownies
- Room Temperature: Store in an airtight container for up to 3 days.
- Refrigerator: Keep for 1 week.
- Freezing: Freeze undecorated brownies for 3 months, then thaw and decorate later.
For expert brownie storage tips, visit The Kitchn.
FAQs About Melted Jack-O-Lantern Brownies
1. Can I use a boxed brownie mix?
Yes! Follow the package instructions, then decorate as described.
2. What if I don’t have candy melts?
You can melt white chocolate and add orange food coloring.
3. How do I keep the marshmallows from sliding off?
Make sure the brownies are completely cooled before decorating.
4. Can I make these brownies in advance?
Yes! Bake the brownies ahead of time and decorate them the next day.
5. What’s the best way to cut brownies neatly?
Use a sharp knife and wipe it clean between each cut.
Conclusion
These Melted Jack-O-Lantern Brownies are a fun, easy, and festive treat for Halloween! Whether you’re hosting a party, making treats for school, or just getting into the holiday spirit, these brownies will be a hit.
Looking for more Halloween baking ideas? Check out these Halloween desserts for more spooky fun!
https://aleidarecipes.com/the-best-butter-pecan-pound-cake-recipe/
https://aleidarecipes.com/chocolate-lava-cake-recipes-dessert-lovers/
Print
Melted Jack-O-Lantern Brownies: Fun and Easy Halloween Treat
- Total Time: 40-45minutes
- Yield: 12 brownies 1x
Description
Try these fun and easy Melted Jack-O-Lantern Brownies for Halloween! Fudgy brownies topped with melted marshmallow pumpkins—perfect for any spooky celebration!
Ingredients
- 1 cup (2 sticks) unsalted butter, melted
- 1 cup granulated sugar
- 1 cup brown sugar
- 4 large eggs
- 1 teaspoon vanilla extract
- 1 cup all-purpose flour
- ½ cup unsweetened cocoa powder
- ½ teaspoon salt
- ½ teaspoon baking powder
For the Jack-O-Lantern Decoration:
- 12 large marshmallows
- 1 cup orange candy melts
- ½ cup semi-sweet chocolate chips
- 12 pretzel sticks (for pumpkin stems)
- Green icing or sprinkles (for vines)
Instructions
Baking the Brownies
- Preheat the oven to 350°F (175°C) and line a 9×13-inch baking pan with parchment paper.
- In a large bowl, whisk together the melted butter, granulated sugar, and brown sugar until smooth.
- Add the eggs and vanilla extract, whisking until well combined.
- In a separate bowl, sift together the flour, cocoa powder, salt, and baking powder.
- Gradually fold the dry ingredients into the wet mixture until just combined.
- Pour the brownie batter into the prepared pan and spread evenly.
- Bake for 25-30 minutes or until a toothpick inserted in the center comes out with a few moist crumbs.
- Let the brownies cool completely before decorating.
- Creating the Melted Jack-O-Lanterns
- Melt the orange candy melts according to package instructions.
- Place a large marshmallow on top of each cooled brownie square.
- Spoon the melted orange candy over the marshmallow, letting it drip down the sides to resemble a “melted pumpkin.”
Decorating the Jack-O-Lantern Faces
- Melt the semi-sweet chocolate chips in a microwave-safe bowl.
- Using a toothpick or a small piping bag, draw jack-o-lantern faces on the melted marshmallow pumpkins.
- Insert a pretzel stick into the top of each marshmallow to serve as the pumpkin stem.
- Use green icing or sprinkles to create vines and leaves for a festive touch.
- Prep Time: 15 minutes
- Cook Time: 25-30 minutes
- Category: Dessert
- Method: Baking
Nutrition
- Calories: 320kcal
- Sugar: 30g
- Sodium: 120mg
- Fat: 15g
- Saturated Fat: 9g
- Carbohydrates: 42g
- Fiber: 2g
- Protein: 4g
- Cholesterol: 60mg

