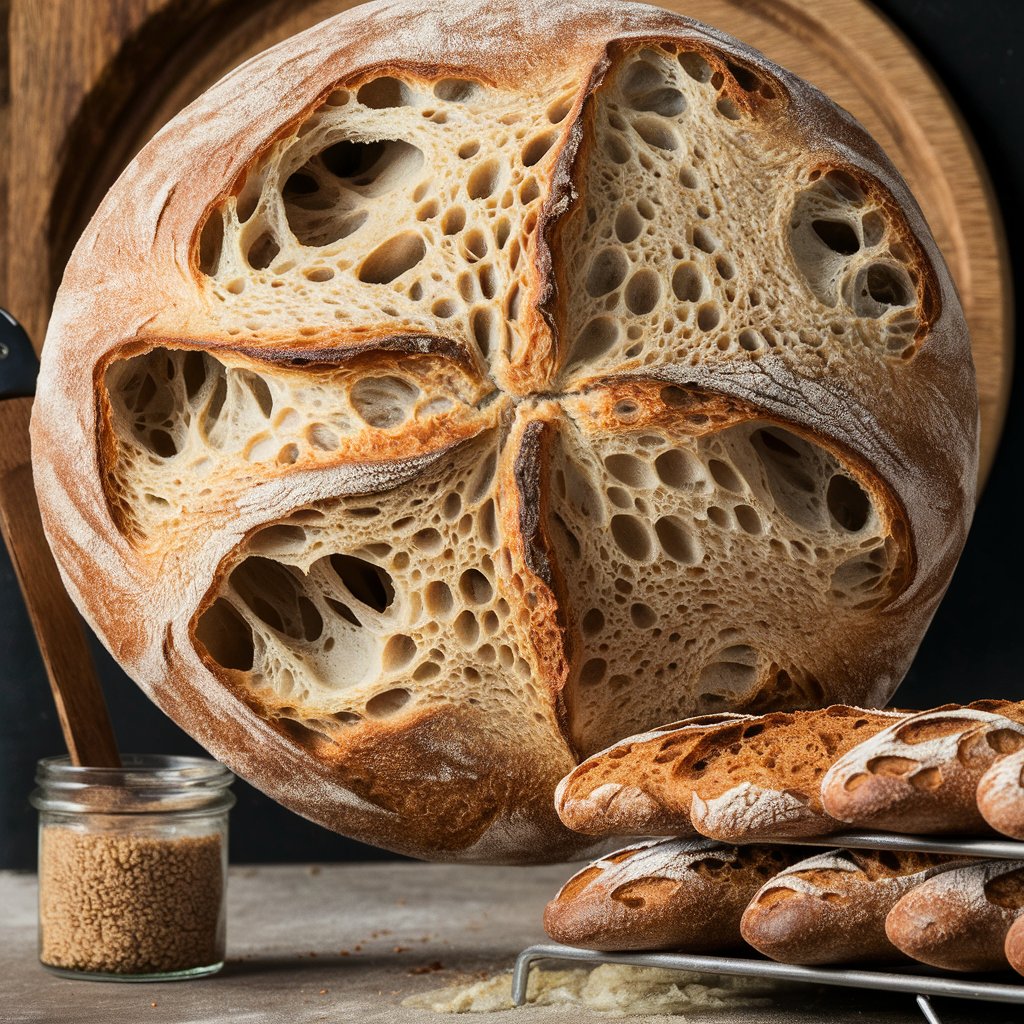
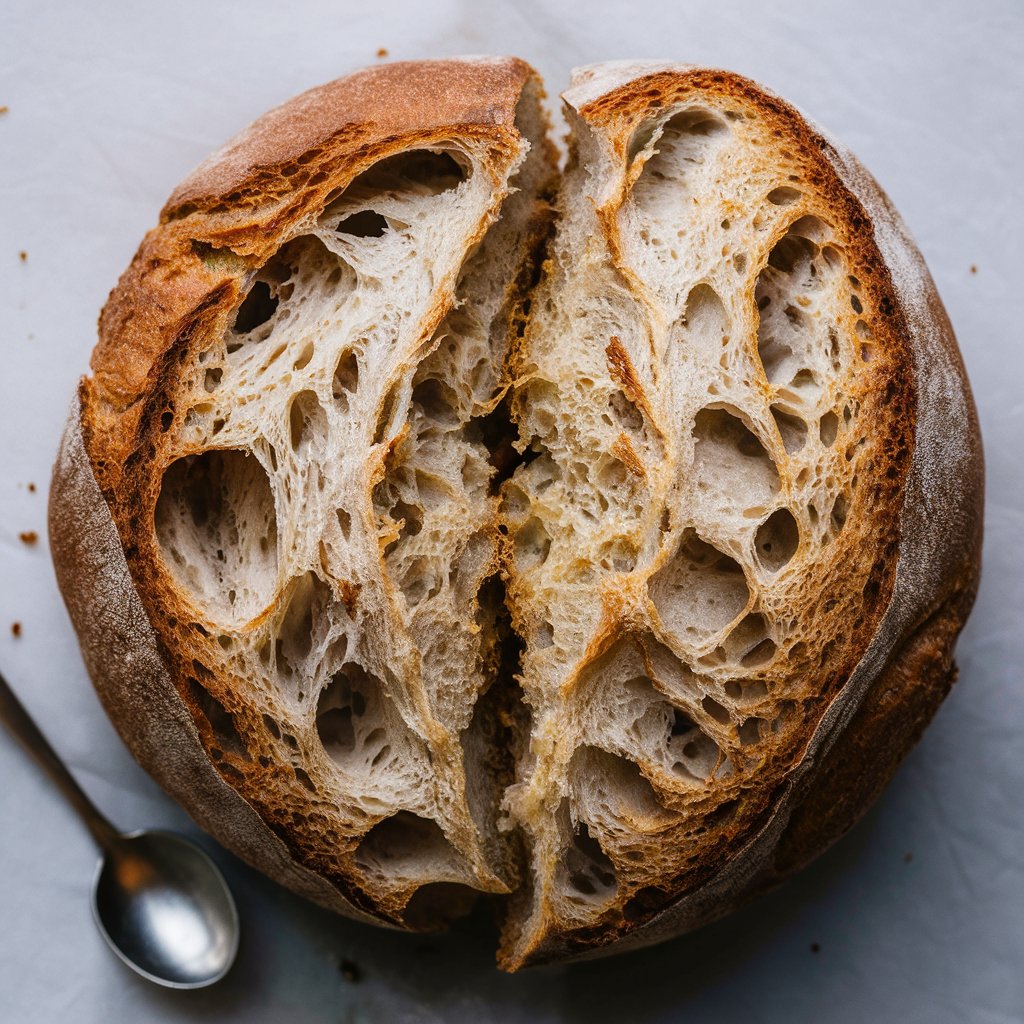
Making sourdough bread from scratch can be a rewarding experience. However, one of the most exciting moments for any baker is watching the dough rise, becoming light and puffy. But what makes sourdough dough puffy? Achieving that perfect rise depends on several important factors, including fermentation, gluten development, and proofing.
In this guide, we’ll dive into the science behind puffy sourdough dough and discuss tips and tricks to ensure your sourdough rises beautifully every time. Whether you’re new to baking or a seasoned pro, understanding what influences the puffiness of sourdough dough is key to mastering the art of sourdough baking.
 The Role of Natural Fermentation in Puffy Sourdough Dough
At the heart of sourdough baking is natural fermentation. Unlike bread made with commercial yeast, sourdough uses a starter, which is a mixture of flour and water that naturally ferments over time. The fermentation process is driven by wild yeast and lactic acid bacteria present in the starter.
Why Fermentation Makes Dough Puffy
During fermentation, the wild yeast consumes the sugars in the flour and produces carbon dioxide (CO2). This CO2 creates gas bubbles in the dough, which cause it to expand and become puffy. At the same time, the lactic acid bacteria help break down the starches in the flour, producing additional gases and contributing to the overall rise.
Key Points on Fermentation:
- Wild yeast produces carbon dioxide, which makes the dough rise.
- Lactic acid bacteria help strengthen the dough by breaking down starches.
- Fermentation enhances the dough’s structure, helping it puff up and maintain its shape.
The key to achieving a good rise through fermentation is maintaining an active sourdough starter. Feeding your starter regularly ensures that the yeast remains strong and capable of producing enough gas to make the dough puffy.
If you’re just starting out with sourdough, you may want to check out our Beginner’s Guide to Feeding Sourdough Starter for helpful tips on keeping your starter active and ready for baking.
Gluten Development: The Backbone of Puffy Sourdough Dough
Another crucial factor that contributes to puffy sourdough dough is gluten development. Gluten is a protein found in wheat flour that gives the dough its elastic, stretchy quality. Without proper gluten development, the dough won’t trap the gases produced during fermentation, leading to a flat, dense loaf.
How Gluten Development Works
When you mix water with flour, the proteins in the flour (glutenin and gliadin) form gluten strands. As you knead or fold the dough, these strands become stronger and more elastic, allowing the dough to stretch and expand as gases are trapped inside.
Key Points on Gluten:
- Gluten acts like a net that traps the carbon dioxide bubbles produced during fermentation.
- Well-developed gluten allows the dough to stretch without tearing, creating a puffy texture.
- The more you knead or fold the dough, the better the gluten structure becomes.
To encourage gluten development, you can knead the dough by hand, use a stand mixer, or employ a no-knead method that involves stretching and folding the dough at intervals during the fermentation process. Each method works to strengthen the gluten network, contributing to the dough’s puffiness.
The Importance of Proper Proofing for Puffy Sourdough
Proofing, also known as the second rise, is when the dough is left to rest after shaping to allow the final development of the dough’s texture and volume. Proofing allows the wild yeast to produce more carbon dioxide, which inflates the dough and makes it puffy.
How to Proof Sourdough Properly
Proofing happens after the dough has undergone its first fermentation (bulk fermentation) and has been shaped into a loaf. During this stage, the yeast continues to ferment, producing more gases that make the dough rise further.
Key Points on Proofing:
- Proofing gives the dough time to expand and become puffy before baking.
- Over-proofing can lead to a dough that collapses, while under-proofing results in a dense loaf.
- The ideal proofing environment is warm but not too hot, as high temperatures can kill the yeast.
For the best results, allow the dough to proof in a warm, draft-free area. A typical proofing time ranges from 3 to 5 hours, depending on the temperature and the dough’s hydration. Keep an eye on the dough, as over-proofing can cause the dough to lose its structure and collapse.
Hydration: How Water Affects Dough Puffiness
Hydration refers to the amount of water in the dough. Higher hydration doughs contain more water, which allows for a more open crumb structure and a puffier dough. Sourdough doughs with high hydration (typically between 70% and 80%) tend to rise more during baking, creating that puffy, airy texture sourdough lovers crave.
Why Hydration Matters for Puffy Sourdough
Water hydrates the gluten strands, making them more elastic. This elasticity allows the dough to expand more easily, trapping air bubbles inside. Additionally, higher hydration doughs can create more steam in the oven, which helps the dough rise and puff up during the baking process.
Key Points on Hydration:
- High hydration creates a more open crumb and a puffier loaf.
- Water hydrates gluten, making the dough more elastic and capable of expanding.
- Too much water can make the dough sticky and difficult to handle, so finding the right balance is crucial.
If you’re new to baking high-hydration sourdough, start with a hydration level around 70%. As you gain experience, you can experiment with higher hydration levels to create even puffier loaves.
The Role of Temperature in Dough Puffiness
Temperature plays a crucial role in the fermentation and proofing stages, directly affecting the dough’s puffiness. Warmer temperatures speed up fermentation, leading to a quicker rise. However, if the dough gets too warm, it can over-ferment, leading to a loss of structure.
Ideal Temperature for Sourdough Fermentation
The ideal temperature range for sourdough fermentation is between 75°F and 80°F (24°C to 27°C). This range allows the yeast to remain active without the risk of over-fermentation. When proofing sourdough, maintaining a consistent temperature helps the dough rise gradually and evenly.
Key Points on Temperature:
- Warm temperatures speed up fermentation, helping the dough puff up.
- Over-fermentation occurs if the dough is left at high temperatures for too long.
- Cold temperatures (refrigeration) can slow down fermentation, allowing for longer proofing times and deeper flavor development.
Some bakers prefer to do a “cold ferment” by placing the dough in the refrigerator during the final proof. This slows down the rise and enhances the flavor while still allowing the dough to become puffy before baking.
Steam and Oven Spring: Achieving Maximum Puffiness During Baking
Once the dough has been shaped and proofed, the next step is baking. The way the dough behaves in the oven determines its final texture and puffiness. One of the key elements to getting a high rise, or “oven spring,” is steam.
How Steam Helps Create Puffy Sourdough
Steam in the oven keeps the dough’s outer surface moist and flexible, allowing it to expand before the crust hardens. This expansion leads to an increase in volume, resulting in a puffier loaf. Without steam, the crust forms too quickly, limiting the dough’s ability to expand.
Key Points on Steam:
- Steam helps the dough expand by delaying the formation of the crust.
- More expansion means a puffier, taller loaf.
- You can create steam by placing a pan of water in the oven or using a Dutch oven to trap moisture.
For best results, place your sourdough loaf in a preheated oven with a hot pan of water on the bottom rack. Alternatively, you can use a Dutch oven with the lid on to create a steam-filled environment, which helps boost the dough’s puffiness during baking.
Signs of Properly Puffy Sourdough Dough
Knowing whether your dough is properly puffy can be tricky, especially for beginners. However, there are a few signs you can look for to determine whether your dough has risen enough.
Signs of Proper Puffiness:
- The dough has doubled in size during bulk fermentation.
- The surface of the dough looks smooth and has visible air bubbles.
- When gently pressed with a finger, the dough springs back slowly, leaving a slight indentation.
These signs indicate that your dough has risen properly and is ready for baking. Over-proofing can cause the dough to collapse, so be careful not to let the dough rise for too long.
Troubleshooting Common Sourdough Rising Issues
Sometimes, sourdough dough doesn’t rise as expected. If your dough isn’t getting puffy, there could be several reasons behind it. Let’s explore some common issues and how to troubleshoot them.
1. Weak Sourdough Starter
A weak or inactive sourdough starter is a common cause of flat, dense dough. If the starter isn’t bubbling and rising after feedings, it may not have enough strength to leaven the dough.
Solution:
Feed your starter regularly and ensure it’s bubbly and active before baking. Consider feeding it more frequently or giving it a warmer environment to thrive.
2. Insufficient Gluten Development
If the gluten isn’t fully developed, the dough won’t have enough structure to hold the gas bubbles, resulting in a flat loaf.
Solution:
Spend more time kneading or folding the dough to strengthen the gluten network. Use the “windowpane test” to check gluten development.
3. Under or Over-Proofing
Proofing the dough for too short or too long can also affect its puffiness. Under-proofed dough doesn’t rise enough, while over-proofed dough collapses.
Solution:
Keep an eye on the dough during the proofing stage and look for the signs of proper puffiness. Use the finger-poke test to gauge when the dough is ready to bake.
Conclusion: What Makes Sourdough Dough Puffy?
In summary, the perfect rise in sourdough dough comes from a combination of factors. Fermentation, gluten development, hydration, temperature, proofing, and steam all play crucial roles in making the dough puffy and light. By understanding how each factor contributes to the rise, you can better control your sourdough baking process and achieve that ideal puffiness every time.
Whether you’re a beginner or an experienced baker, mastering these elements will help you consistently produce beautifully risen sourdough loaves. Remember, it all starts with a healthy sourdough starter and proper fermentation practices. With patience and practice, your sourdough dough will puff up perfectly, resulting in delicious, airy loaves.


